How to Build a DIY Potato Cannon
Créer un DIY projectile launcher is an exciting backyard engineering project. It’s perfect for science fans and weekend warriors alike. This spud cannon blends physics, creativity, and hands-on building1.
Potato cannons can launch spuds up to 300 yards with the right design. These clever devices use compressed air or gas to propel potatoes with amazing force2.
Our guide covers every step to make your own potato gun. You’ll learn about materials, construction, and crucial safety measures.
This DIY project is great for curious tinkerers and budding engineers. Get ready for an unforgettable experience in backyard science!
Principaux points à retenir
- Learn to construct a safe and functional potato cannon
- Understand the science behind projectile launching
- Master precision PVC pipe construction techniques
- Explore hands-on engineering principles
- Create an impressive backyard science project
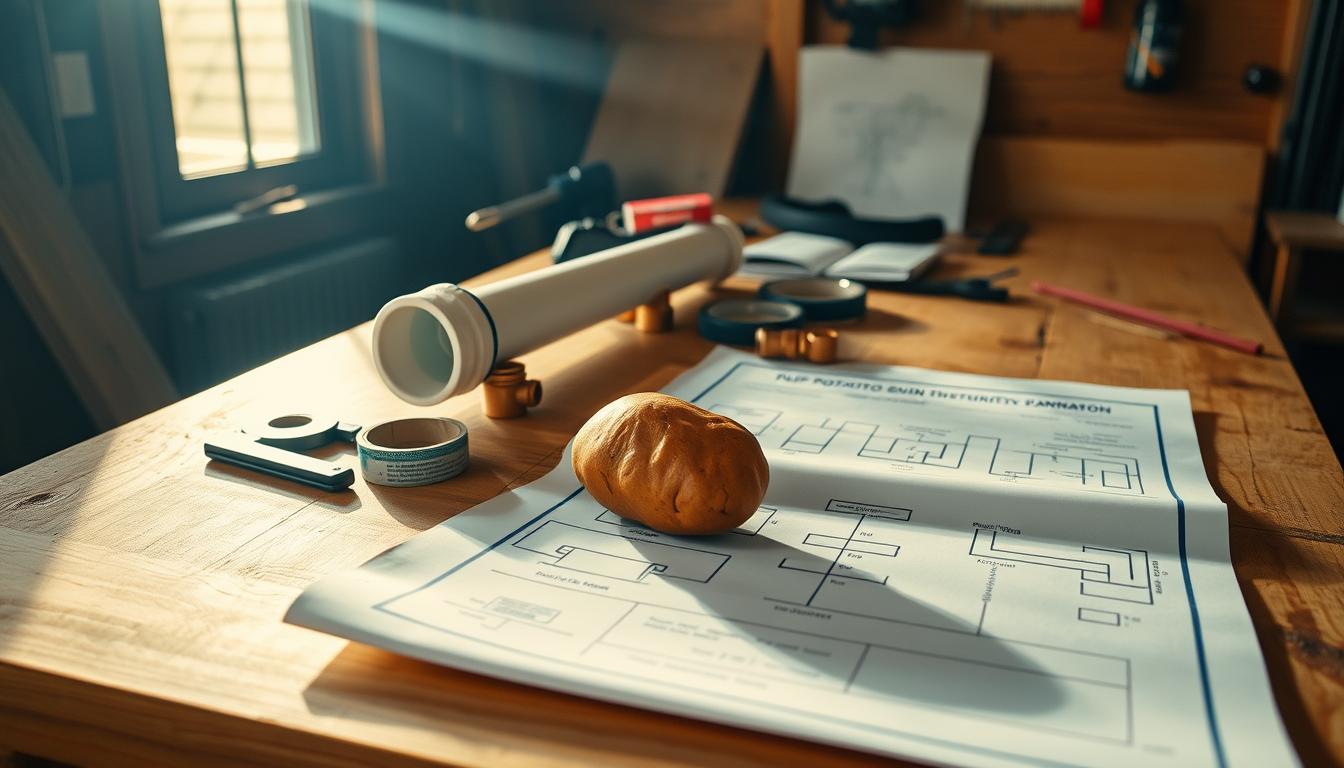
Essential Materials and Tools for Your Potato Launcher
Building a DIY compressed air potato blaster needs careful material selection. The right equipment ensures successful PVC potato gun construction. Precision is key for backyard potato artillery.
Your potato cannon project needs specific PVC parts and tools. Most DIY potato launchers are affordable. They typically cost between $25 to $503.
PVC Components Checklist
- 4″ PVC pipe (1.5 feet long)
- 2″ PVC pipe (4 feet long)
- 4″ PVC threaded coupler
- 4″ PVC cleanout cap
- 4″ to 2″ PVC adapter
- Schedule 40 PVC recommended3
Outils et fournitures essentiels
| Tool/Supply | But |
|---|---|
| PVC primer | Preparing pipe connections |
| PVC cement | Securing pipe joints |
| Scie | Cutting PVC pipes |
| Drill with 1/2″ bit | Creating ignition holes |
| Laque pour cheveux | Fuel source for combustion |
Be mindful of temperature when using your potato launcher. PVC becomes brittle in cold weather. Avoid using it when temperatures drop below 60°F3.
Choose potatoes about 1.5 inches wide for a perfect barrel fit4. This ensures smooth firing and optimal performance.
Pro Tip: Always prioritize safety and carefully inspect all connections before assembling your backyard potato artillery.
Make a Potato Gun: Step-by-Step Construction
Prêt à construire un science project potato gun? Gather your PVC parts and tools first. This ensures a safe spud launcher creation using professional techniques.
Start by prepping your PVC components for the launcher. Specific measurements are key for top performance5.
- Cut a 4-inch SCH 40 pipe approximately 34 inches long5
- Select a 2 1/2″ pipe for the barrel, targeting around 63 inches in length5
- Ensure your combustion chamber can withstand 60-100 PSI of pressure5
Conseil de pro: Connect PVC parts securely when assembling your launcher. Use proper PVC glue and allow enough time for bonding.
Safety first: Always wear protective equipment during construction and operation of your potato gun.
For ignition, use multiple spark sources for reliable firing. Two spark plugs with a good power source work well5.
The metering system needs precise brass parts. This helps manage fuel-to-air ratios effectively5.
Aim for a 1.5:1 chamber-to-barrel volume ratio. This ratio ensures maximum efficiency in your potato gun56.
| Construction Stage | Durée estimée |
|---|---|
| Component Preparation | 30 à 45 minutes |
| Assembly | 1 à 2 heures |
| Testing | 30 minutes |
Your potato cannon is almost ready. Check all connections and seals carefully.
Prepare for a safe and thrilling launch experience. Your science project is about to take flight!
Safety Considerations and Operating Instructions
Safety is key when building a potato firing device. Understanding potato cannon mechanics aide à prévenir les situations dangereuses7. A spudgun’s muzzle energy is similar to a powerful handgun, so handle it carefully7.
Pre-launch safety checks are crucial. Keep a 200-yard clearance in front and 25 yards around the cannon8. Check PVC components before firing, ensuring the 1½-inch diameter schedule-40 pipe is undamaged8.
Avoid using cellular extruded piping as it can explode8. For combustion-powered versions, spray hairspray into the chamber for 5-7 seconds. Cap it quickly and use a stick lighter to ignite.
Air-powered launchers should be pressurized to a maximum of 30 PSI8. Aim at a 45-degree angle for the best distance8. Always wear protective gear and keep spectators away.
Never aim the potato cannon at people or animals. Following these guidelines ensures safe and responsible fun. The risk of injury is high if safety protocols aren’t followed7.
FAQ
Is it legal to build a potato cannon?
What type of potatoes work best for a potato launcher?
How far can a typical potato cannon shoot?
What safety gear should I wear when operating a potato gun?
How old do you need to be to build a potato cannon?
What are the main types of potato gun designs?
How much does it cost to build a potato cannon?
Can potato cannons be used for educational purposes?
What maintenance does a potato cannon require?
Are there alternative projectiles besides potatoes?
Liens sources
- Simple Potato Gun – https://www.instructables.com/Simple-Potato-Gun/
- Amaze Your Friends With This DIY Potato Cannon – https://www.popularmechanics.com/home/a40751927/diy-potato-cannon/
- Night Lighter: See-Thru Potato Cannon – Make: – https://makezine.com/projects/see-thru-potato-cannon/
- How to Make a Potato Launcher – https://www.instructables.com/How-to-make-a-Potato-Launcher/
- Howitzer Potato Cannon – https://www.instructables.com/Howitzer-Potato-Cannon/
- How to Build a Potato Gun – Design and Construction – https://www.jbprojects.net/projects/potato2/
- Safety – SpudFiles Wiki – https://www.spudfiles.com/spud_wiki/index.php/Safety
- Air Powered Potato Cannon – https://www.instructables.com/Air-Powered-Potato-Cannon/


dernière vidéo

nouvelles via la boîte de réception
Nulla turp dis cursus. Entier libéros euismod pretium faucibua