
How to Adjust Bike Brakes
Bike brake maintenance is vital for safe riding. Proper brake adjustment enhances your cycling experience and saves money. It’s a skill every cyclist should master, from beginners to experts.
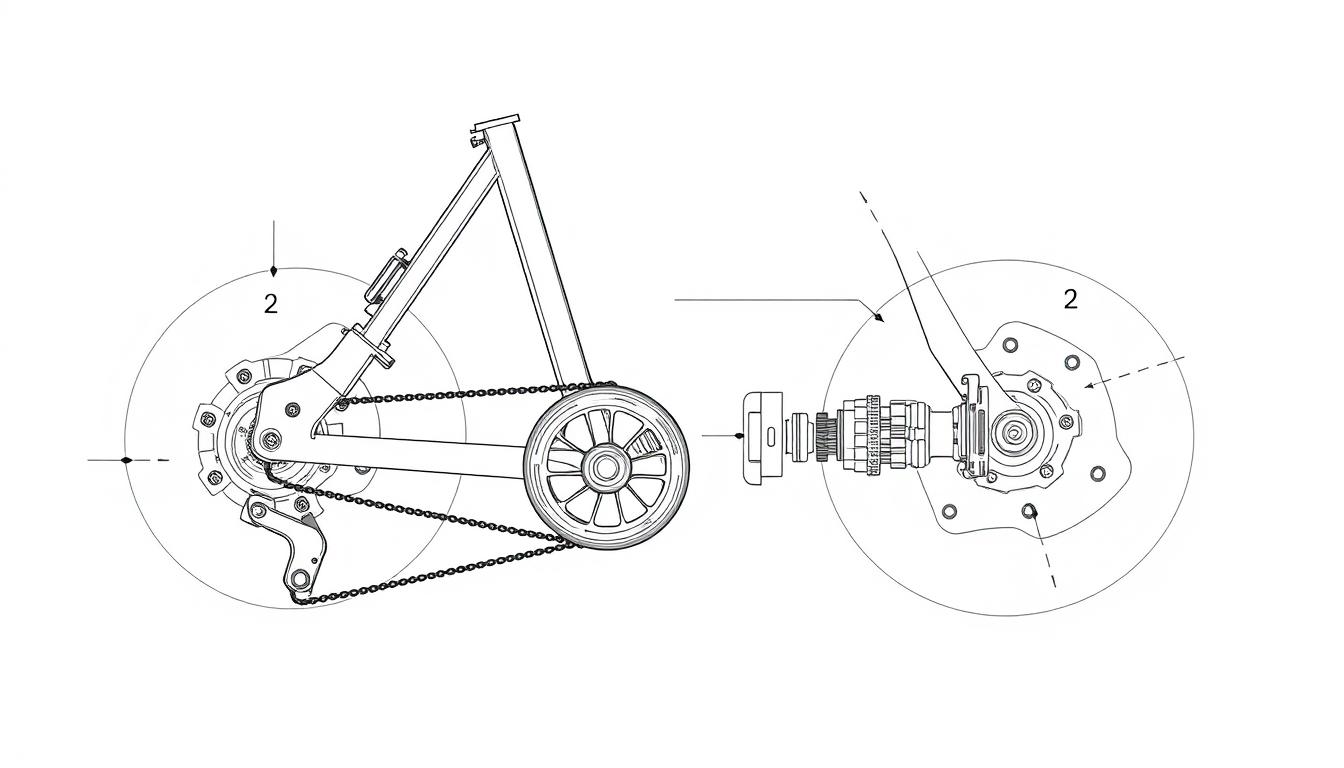
Bike brakes have come a long way. Standard caliper brakes are still common on many bikes. Modern cyclists can pick from V-brakes and disc brakes, each needing specific adjustments1.
Não deixe brake adjustment scare you. It’s a skill you can learn with practice. Most adjustments take about ten minutes using simple tools like Allen keys1.
Knowing brake basics helps keep your bike in top shape. It ensures your safety on the road and prevents accidents.
Principais conclusões
- Brake adjustment is essential for cycling safety
- Different bike brake systems require specific maintenance techniques
- Basic brake adjustment can be done with minimal tools
- Regular brake maintenance prevents potential accidents
- Professional brake adjustment typically costs around $15
Understanding Different Types of Bike Brake Systems
Bike safety relies on well-functioning brake systems. Modern bicycles use various brake technologies for better stopping power2. V-brakes and disc brakes are the main types, each with unique features and upkeep needs.
V-Brakes vs Disc Brakes: Comparative Analysis
Disc brakes have revolutionized bicycle stopping power. Most new bikes now use disc brake technology2. These advanced systems offer major benefits.
- Powerful stopping in all weather conditions3
- Resistance to wheel deformation during intense riding3
- Rotor sizes ranging from 140mm to 203mm2
Essential Tools for Brake Maintenance
Proper bike repair needs specific tools for brake adjustments. Cyclists should have these items on hand:
- Allen wrenches
- Chaves de fenda
- Isopropyl alcohol for cleaning
- Specialized brake adjustment tools
Common Brake Problems and Prevention
Bike safety depends on spotting brake issues early. Key problems include:
Regular checks can prevent brake failures. Checking brake pad thickness and cable tension weekly ensures optimal performance4. Well-adjusted brakes can cut stopping distances by up to 20%.
How to Adjust Bike Brakes: Step-by-Step Process
Keeping your bike’s brakes in good shape is vital for safe rides. You can adjust most brakes easily with few tools. This guide covers both Disc and Rim Brakes5.
Get ready with an Allen wrench and maybe a Phillips screwdriver6. Follow these steps to adjust your bike brakes:
- Inspect Brake Pads: Check for wear and alignment. Replace pads that have exceeded the wear line5.
- Check Cable Tension: Ensure brake levers stop about 3.8 cm from the handlebars5.
- Align Brake Pads: Both pads should contact the wheel simultaneously5.
For V-Brakes, focus on spring tension and pad alignment6. UMA bike maintenance stand can speed up the process by 50%6.
For Disc Brakes, align calipers and check rotor true. Well-kept brakes can boost stopping power by 40%6.
Watch for misalignments that could cause weak or squishy brake levers6.
Regular maintenance is key to keeping your bike’s braking system in top condition.
These steps will help you maintain great brake performance. Check your brakes often, as pads usually last 500 to 1,000 miles6.
Conclusão
Bike brake adjustment is a vital skill for cyclists. Regular maintenance ensures safe rides and prevents accidents7. About 50% of brake incidents come from poor adjustments, highlighting the need for proper techniques7.
Don’t fear bicycle repair. Mastering brake adjustment saves money and boosts cycling confidence7. Most brake fixes take under 15 minutes with the right know-how and tools7.
Verificando brake pads and understanding tension can greatly improve your bike’s performance8. Normal manutenção de bicicletas extends your bicycle’s life.
Inspect brakes every 100 to 200 miles. Look for signs of wear or misalignment78. Being proactive ensures safer, smoother rides and prevents costly future repairs.
Perguntas frequentes
What are the main types of bike brake systems?
How often should I check and adjust my bike brakes?
What tools do I need to adjust bike brakes?
How can I tell if my bike brakes need adjustment?
Can I adjust my bike brakes at home, or should I visit a professional?
What are common brake problems I might encounter?
How do disc brakes differ from rim brakes in terms of maintenance?
What safety precautions should I take when adjusting bike brakes?
How long do bike brake pads typically last?
What’s the difference between mechanical and hydraulic disc brakes?
Links de origem
- Brake adjustment – https://bicyclenetwork.com.au/tips-resources/bike-maintenance/brake-adjustment/
- Bike brakes explained: disc brakes vs rim brakes vs V-brakes – http://www.bikeradar.com/advice/buyers-guides/bike-brakes
- Disc Brakes 101! – https://www.bicyclehabitat.com/how-to/disc-brakes-101-pg362.htm?srsltid=AfmBOooc7Y8q0VE4mwCxKEzzoN7AGn68g1j_Udlz6tm27jMReq3SPZbQ
- How To Adjust Bike Brakes | Brake Smarts for Bicycles – Myrtle Beach Bicycles | Murrells Inlet, South Carolina – https://myrtlebeachbicycles.com/how-to-adjust-bike-brakes/
- How to Adjust Bike Brakes the Right Way? Our Guide – https://breckenridgeskishop.com/blog/find-out-how-to-adjust-bike-brakes/
- How to: Adjust your V brakes – https://www.wheelies.co.uk/maintenance-guide/how-to-adjust-v-brakes
- How to Adjust Bicycle Brakes, Easy Way to Adjust – Rodalink – https://blog.rodalink.com/sg/how-to-adjust-bicycle-brakes/
- Disc Brake Bicycle Adjustment in 6 Easy Simple Steps – https://bikeevolution.com/blogs/news/disc-brake-bicycle-adjustment-in-6-easy-simple-steps


ultimo video

notícias via caixa de entrada
Nulla turp dis cursus. Inteiro liberos euismod pretium faucibua


