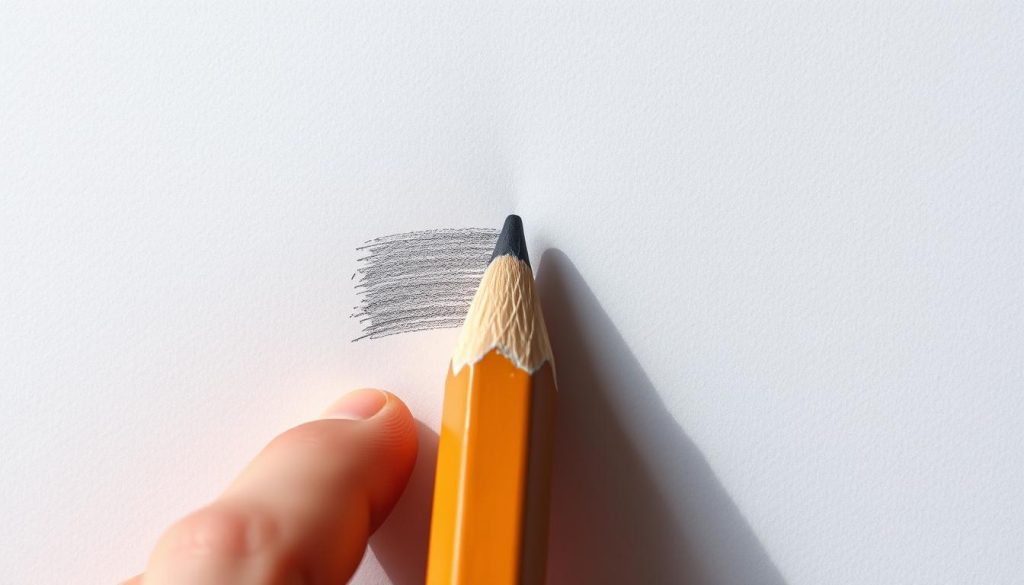
Pencil shading turns simple lines into stunning artwork. It creates depth, texture, and emotion using just a pencil1. Beginners often struggle with sharp edges, making drawings look flat1.
Pencil shading needs special techniques. Artists use different pencil grades like 2B and 6B for various tones1. 6B pencils are great for dark areas, while 2B pencils work well for lighter details1.
Charcoal drawings create rich blacks and smooth transitions. Mastering shading helps you control light and shadow2. Pros suggest practicing shadow mapping to understand light on different surfaces1.
Key Takeaways
- Understand different pencil grades for varied shading effects
- Practice creating soft edges for realistic drawings
- Learn to map shadows for depth and dimension
- Experiment with 2B and 6B pencils for different tonal ranges
- Focus on light and shadow interactions
Essential Tools and Materials for Shade Drawings
The right tools can transform your artwork. They bring depth and nuance to your shading techniques. Mastering these materials is key to developing your artistic skills.
Artists use specific tools to master value study. These tools help explore the intricate world of chiaroscuro. The right pencils and materials can greatly improve your drawing quality.
Understanding Pencil Grades and Their Uses
Pencil grades are crucial for detailed shading. Artists use a range of pencils from hard to soft.
- H grades (Hard): Perfect for light, precise lines
- B grades (Soft): Ideal for rich, dark shading
- HB: A balanced middle-ground pencil
A value scale usually has 7-10 blocks showing tones from light to dark3. The soft 4B pencil works great for creating middle shades in drawings3.
Best Paper Types for Shading Techniques
Paper texture greatly affects your shading results. Smooth Bristol paper gives crisp details. Textured drawing paper adds interesting grain to your artwork.
Additional Supplies for Enhanced Results
Pro artists use special tools like blending stumps. These help create smooth transitions. Blending stumps make seamless gradients and soft shadows.
- Kneaded erasers for subtle highlights
- Blending stumps for smooth shading
- Clickable erasers for precise detailing3
Learning these tools helps artists create depth in their drawings. Understanding each tool’s unique features is key. With practice, you can bring emotion to your art through shading.
Mastering Basic Shading Techniques
Shading brings flat drawings to life, adding depth and dimension. Basic techniques like hatching, cross-hatching, and stippling can boost your pencil drawing skills. These methods help artists create impressive depth and texture in their work.
Hatching and Cross-Hatching Fundamentals
Hatching uses thin, parallel lines that vary in length, angle, and spacing. This method adds movement to landscapes and figures.
Cross-hatching layers lines at different angles. It enhances tonal variation and creates deeper shadows in drawings.
- Vary line thickness for different effects
- Use consistent line direction
- Practice contour hatching to follow subject curves
Exploring Stippling and Circular Shading
Stippling creates texture through small dots. Closer dots represent darker values, allowing for gradual, precise shading.
Circular shading, or scumbling, uses circular motions. This technique helps create textured areas in artwork.
Blending and Smoothing Techniques
Smooth shading requires practice and the right approach. Start with light pressure and build darker values gradually.
Artists can use blending tools or fingers for seamless transitions. Experiment with different pressures and strokes to develop your style.
“Practice makes perfect in mastering shading techniques” – Professional Artists
Most artists agree that regular practice is key to improving shading skills. Keep exploring different methods to grow your artistic technique4.
Advanced Shading Concepts and Practices
Advanced shading techniques require a deep understanding of light and shadow dynamics. Artists can improve their drawings by mastering cast shadows and value study approaches. Creating depth involves understanding how light interacts with different surfaces and objects5.
Shadow types are crucial for realistic representations. Form shadows and cast shadows create visual depth and dimension5. Cast shadows vary in length, shape, and direction based on light source intensity5.
Practicing shadow techniques in black and white helps artists understand value scales. This approach leads to creating more authentic artwork5. Artists can enhance their shading skills through structured practice.
Developing a consistent value study approach involves experimenting with different pencil grades. Artists should also practice various shading techniques6. Regular exercises like creating gradients can significantly improve an artist’s skills.
Analyzing contours and practicing different shading methods helps capture light and shadow7. Blending tools create smooth transitions between shades, enhancing depth and realism6. Mastering advanced shading requires keen observation and regular practice.
Artists should focus on simplifying subjects into planes. This approach improves shading accuracy and depth perception7. Understanding how light creates highlights, mid-tones, and shadows is essential.
This knowledge transforms flat drawings into three-dimensional representations. It helps artists capture the essence of their subjects5. Practice and observation are key to mastering these advanced techniques.
FAQ
What are the different pencil grades used for shading?
Pencil grades range from hard (H) to soft (B). Hard pencils create lighter, precise lines. Soft pencils produce darker, richer shades. Artists use various pencils to add depth to their drawings.
How do I choose the right paper for shading?
Pick paper that suits your shading technique. Smooth papers work well for detailed work. Textured papers like Bristol board offer better grip for layering and blending shades.
What are the basic shading techniques I should learn?
The main shading techniques include hatching, cross-hatching, circular shading, and stippling. Hatching uses parallel lines, while cross-hatching involves overlapping lines. Circular shading uses gentle circular motions.
Stippling creates texture with dots. Each method produces unique effects in your drawing.
What tools do I need for effective shading?
Essential tools include various pencils, blending stumps, and kneaded erasers. Good quality drawing paper is also important. Charcoal helps create deeper blacks.
How can I create smooth shading transitions?
Use blending techniques like finger blending or blending stumps. Start with light pressure and build up layers slowly. Keep consistent direction and pressure for smooth transitions.
What is chiaroscuro, and how does it improve drawings?
Chiaroscuro uses strong contrasts between light and dark. It creates the illusion of depth and volume. This technique makes drawings appear more three-dimensional and realistic.
How do I understand light and shadow in my drawings?
Study how light interacts with objects in real life. Observe how shadows form and how light creates highlights. Practice drawing simple objects to understand light’s effects.
Can I use charcoal for shading?
Charcoal is great for deep blacks and dramatic shading. It’s softer than pencil and covers large areas quickly. However, it’s messier and needs fixative to prevent smudging.
What is a value scale, and why is it important?
A value scale shows tones from white to black. It helps artists understand light and shadow accurately. This improves the depth and realism of their drawings.
How can I practice and improve my shading skills?
Draw simple objects and create value scales regularly. Study how light interacts with different surfaces. Try various techniques and observe real-life lighting.
Don’t fear mistakes. They’re part of the learning process.
Source Links
- How to Shade a Drawing (Light & Shadow : Part 2 of 3) – https://willkempartschool.com/how-to-shade-a-drawing-light-shadow-part-2/
- EASY Pencil Shading Drawing Tutorial for Beginners – https://www.karencampbellartist.com/blog/easy-pencil-shading-drawing-tutorial-for-beginners
- How to Shade Drawings: Tips & Techniques for Beginners – https://www.wikihow.com/Shade-Drawings
- Mastering Basic Pencil Shading Techniques: A Step-by-Step Guide – https://www.meghnaunni.com/2023/05/mastering-basic-pencil-shading-techniques-a-step-by-step-guide/
- How to Draw Shadows with Colored Pencils: Advanced Shading Techniques – https://sarahrenaeclark.com/how-to-draw-shadows-advanced-techniques/
- Advanced Pencil Shading Techniques to Create Depth, Texture, and Realism in Landscape Art – YouTalent® Educational Blog – https://blog.youtalent.com/2024/12/20/advanced-pencil-shading-techniques-create-depth-texture-realism-landscape-art/
- How to shade & pencil shading techniques | RapidFireArt – https://rapidfireart.com/2016/07/19/how-to-shade-the-ultimate-tutorial/